Installing a tile backsplash is one of the most common DIY home improvement projects. It’s relatively inexpensive, beginner-friendly, can improve the appearance of a room, and even boost the value of your home. But while installation itself is relatively easy, there are a few things first time DIYers should know to ensure their tile stays looking good in the long haul. Doing it right the first time will protect your walls, tile, and grout from water damage, and save you having to do the project twice!
Installation Types

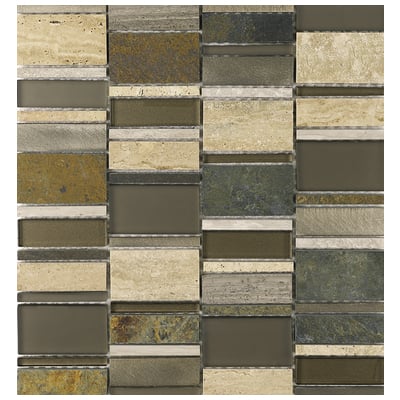
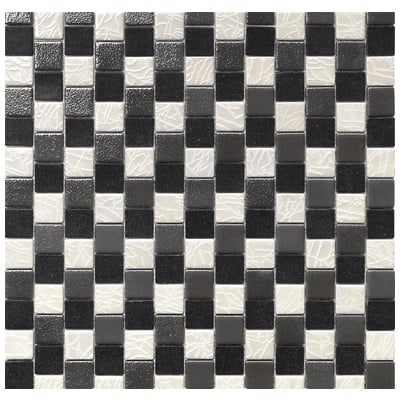
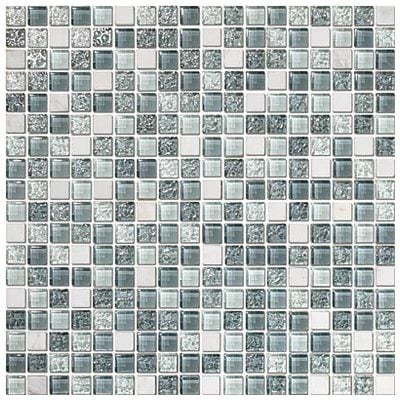
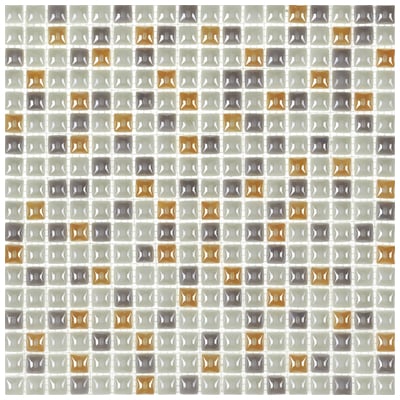
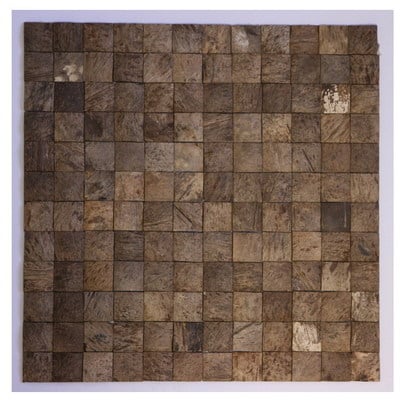
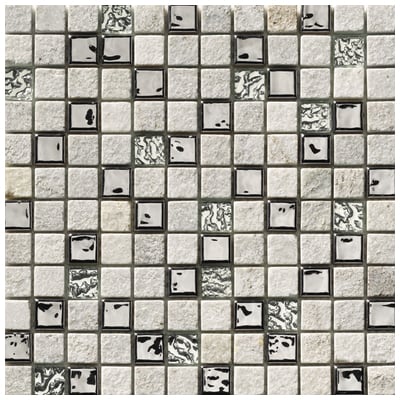
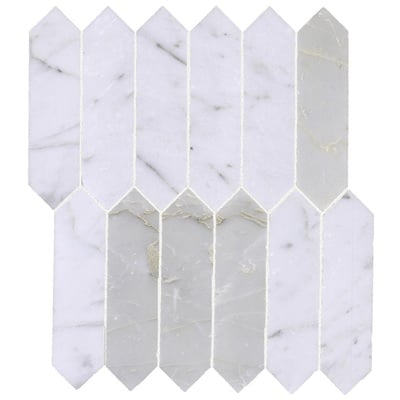
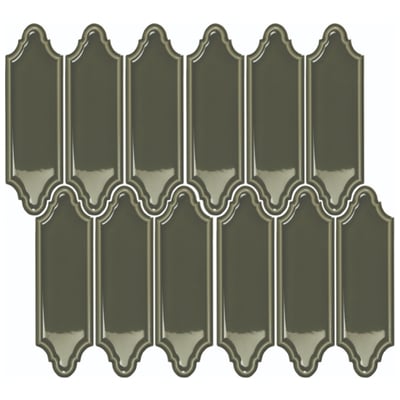
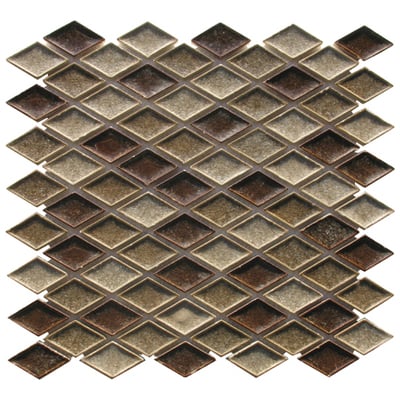
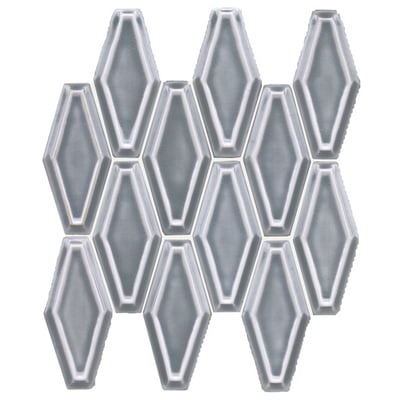
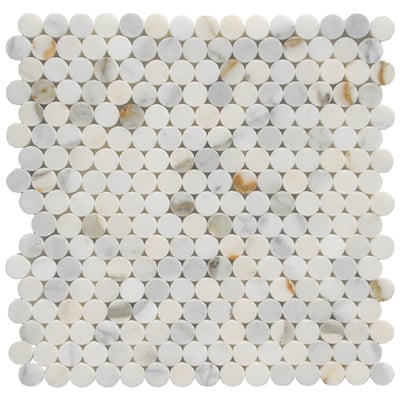
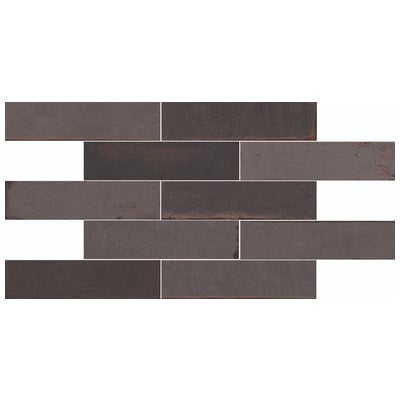
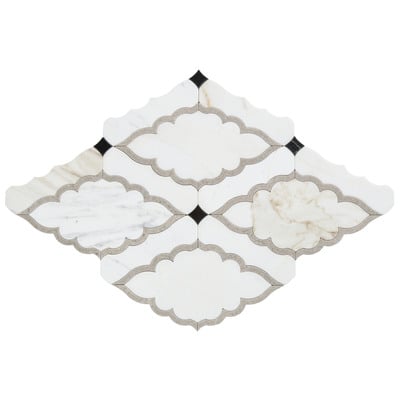
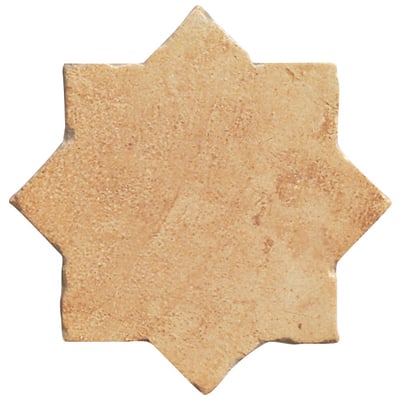
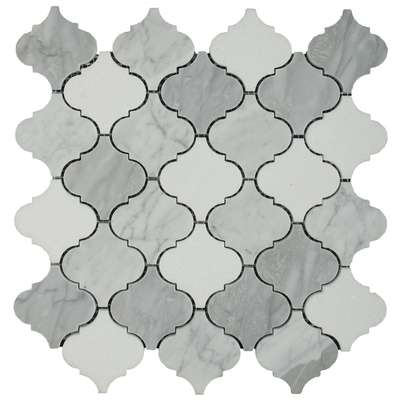
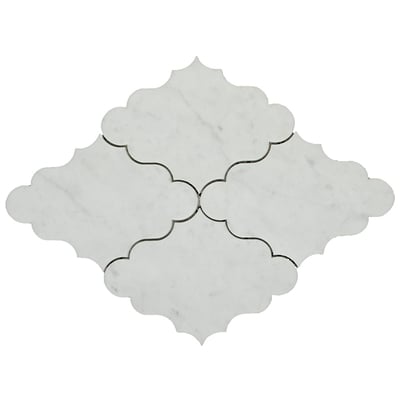
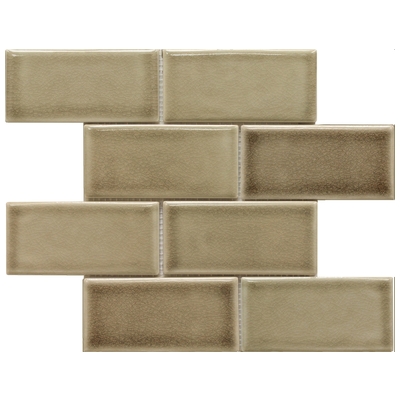
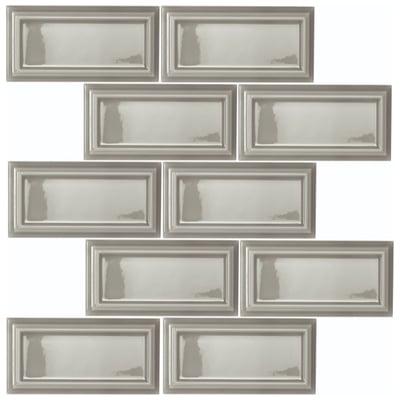
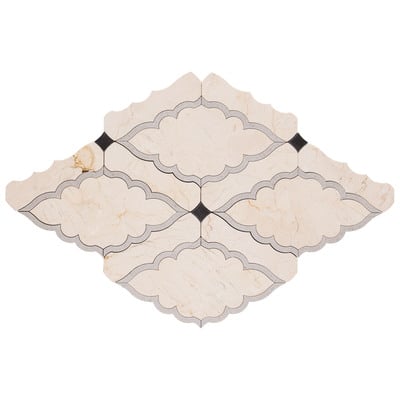
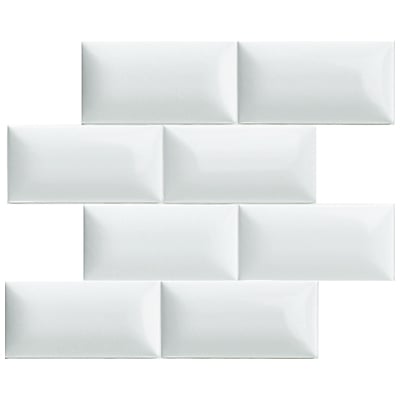
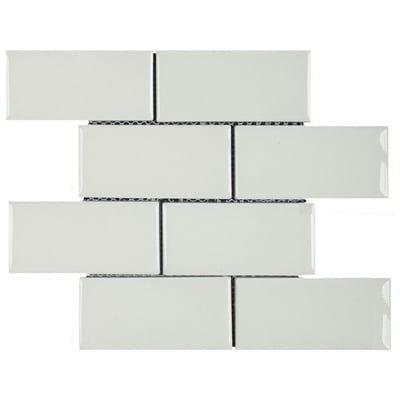
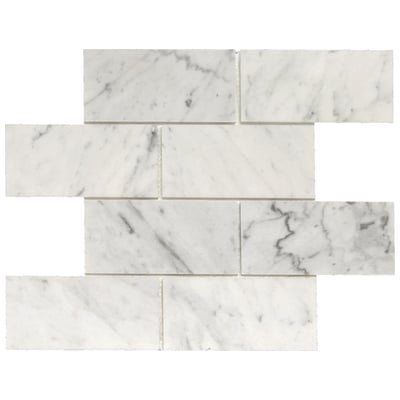
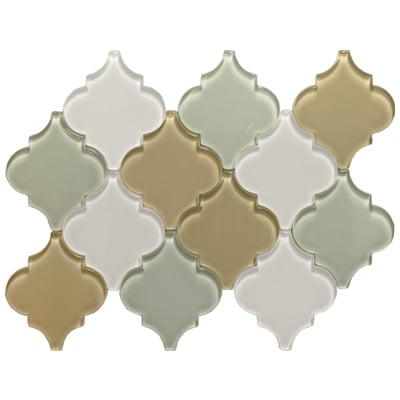
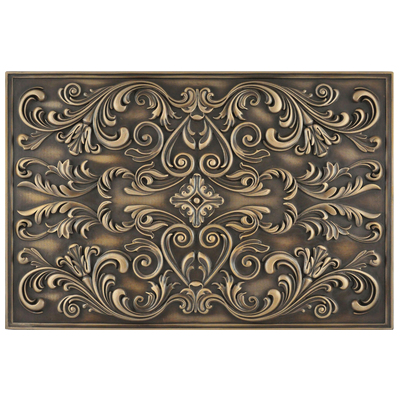
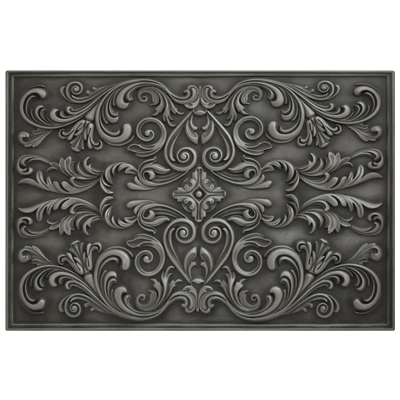
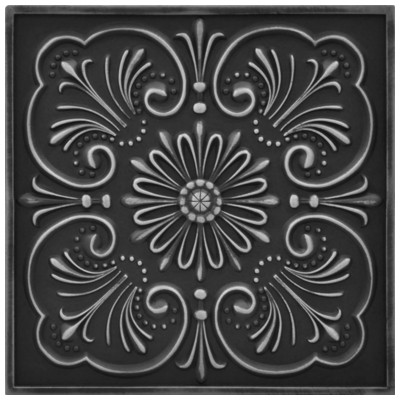
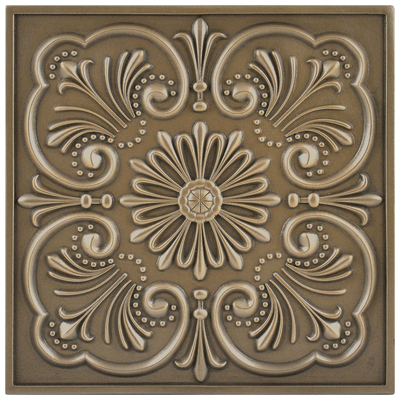
Though the tile used for kitchen and bathroom backsplashes is often called “mosaic tile” it’s rare these days to actually have small, hand-laid tile that’s installed piece-by-piece. For the most part, you’ll find that tile falls into two main groups: larger format squares or rectangles, and mosaic tile sheets. The latter consists of lots of small tile affixed to a mesh grid, arranged in an interlocking pattern that repeats at the edges. That makes it easy to get a very intricate tile backsplash without the fuss. Interestingly, you install both in similar ways: by applying mortar to the wall, evenly spacing and pressing the tile into place, and working grout into the seams once the tile has cured.
Shop Soci Mosaic Tile:


The Right Grout Makes A Difference
Where the big difference comes into play is that with large format tile, you choose how much space to leave in between each tile (and in turn, the size and visibility of the grout line). With mosaic tile sheets, the gap between the tiles is part of the pattern, which means you can’t alter it. Why does this matter? Because the color and type of grout you choose impacts both the final look of your tile backsplash and how durable it will be.
Water Resistance

Tile backsplashes are, by definition, in high-moisture areas – aka, in the splash zone behind a kitchen or bathroom sink. This is doubly true in bathrooms, which also have to contend with significant changes in ambient humidity. Why does this matter? Because poor quality grout can’t handle these harsh conditions. No matter how nice your tile, if your grout isn’t built for the environment you put it in, it won’t last. Over time, grout that isn’t sufficiently water resistant will start to crack and crumble, leaving gaps in your backsplash. Worse, the grout can mold or mildew, leaving ugly (and potentially harmful) discoloration that can be almost impossible to remove.
Choosing The Right Grout

Most commercially available grout is cement based, with variation in grit, color, sand content, and cure time. “Sanded” grout is a sturdy traditional choice, usually used on large format tile with a wide grout line. But the sand content makes it prone to scratching delicate stone or glass tile, and too coarse for use on the fine grout lines you expect from a mosaic installation. “Unsanded” tile contains no sand, won’t scratch most tile, and can be installed in fine gaps… but is very susceptible to cracking and crumbling.

To get the best of both worlds, expect a higher price tag. “Premium” sanded grout uses finer particles that are less likely to damage tile, but strong enough not to crumble. Concrete grouts with added polymers are also a good option, as they give a greater degree of water and chemical resistance and help prevent cracking and staining. Epoxy grout is another more water-resistant option, but is difficult to work with and cures very quickly, which means it’s not very DIY-friendly. Acrylic grout is highly resistant to water, mold, mildew, stains, and cracking, and is relatively easy to work with, but can be significantly more expensive.
Grout Line Width And Color Choice

How visible your grout lines will be depends on two factors: how far apart you space your tile, and the color of the grout you put between them. For mosaic tile sheets, you won’t have much choice in the former. But the spacing for large format tile (and color choice for either) can create wildly different final looks. White subway tile with near-invisible white grout lines looks very different than white subway tile with wide grout lines and black grout. Trends on what the “best” choice is come and go faster than your tile will, but here are a few rough guidelines.
- For higher contrast that draws attention to your tile, opt for a darker grout.
- Choosing a grout that’s very close to the color of your tile make the surface feel larger and won’t interrupt an intricate mosaic.
- Dark grout will lighten with time, and light grout will darken.
- Fine, light grout lines will make your space feel open and clean.
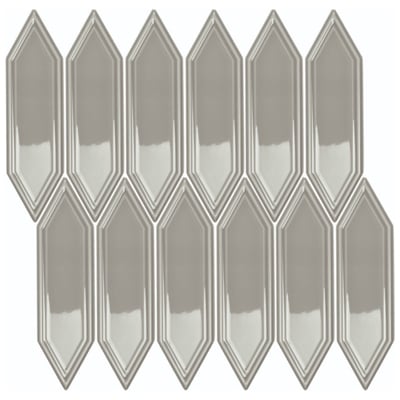
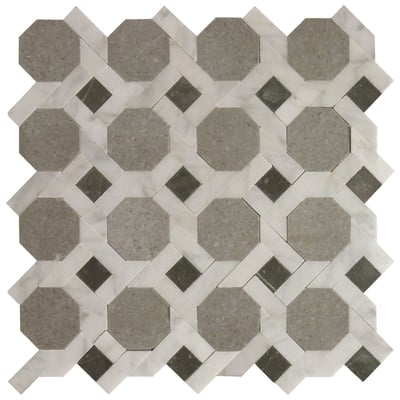
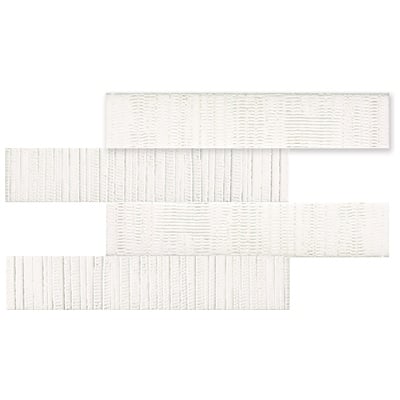
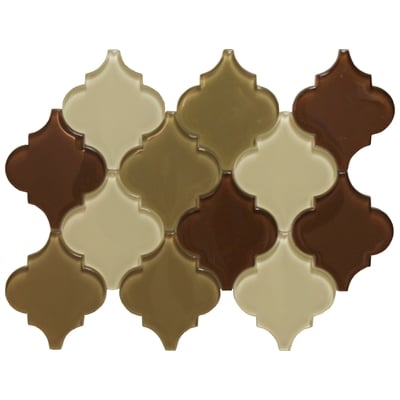
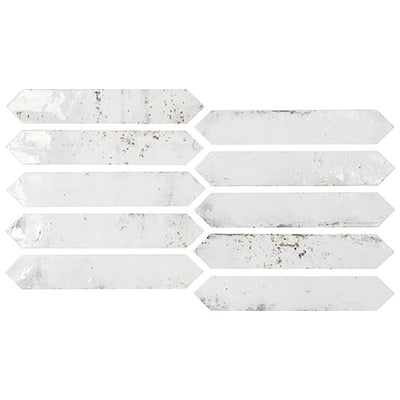
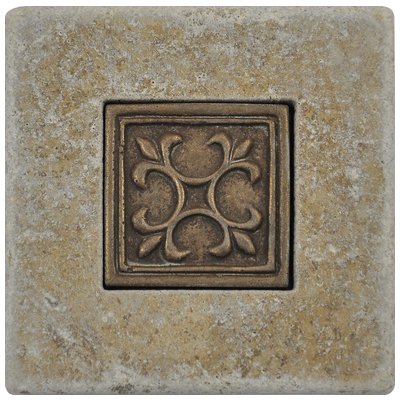
Shop Mosaic Tiles from Nichetiles:


Don’t Forget The Sealant!

One of the biggest mistakes that DIYers make when installing a tile backsplash that they don’t apply sealant. To be fair, not every combination of tile and grout will need it. But you want to make sure to properly seal stone tile and any concrete based grout; doing so is essential to the longevity of your backsplash – especially if it’s in a high-moisture area. A good seal will keep water and stains from penetrating porous tile and grout, which both prevents damage from swelling and shrinkage (reducing the likelihood of cracking) and prevents mold, mildew, and staining that can ruin your backsplash. And remember: one application might not be enough. During initial installation, you might have to apply several coats to provide adequate protection. Depending on the surface and sealant, you should also reapply it about once a year to keep it protected.
As thrilling as it can be to pull off a DIY project on your own, it can be devastating if something goes wrong after the fact. And working with pre-cut mosaic tile sheets is deceptively simple. It’s not hard to get a professional quality look with just a weekend of work. But making sure you choose the right grout, mortar, and sealant can spell the difference between a job well done and one you need a professional to fix!
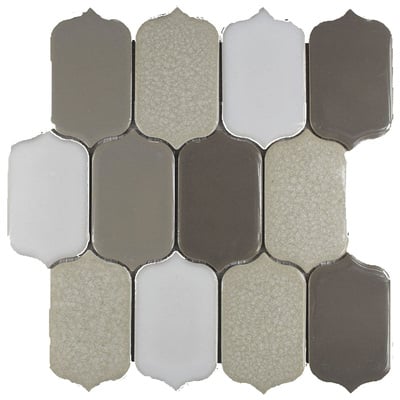
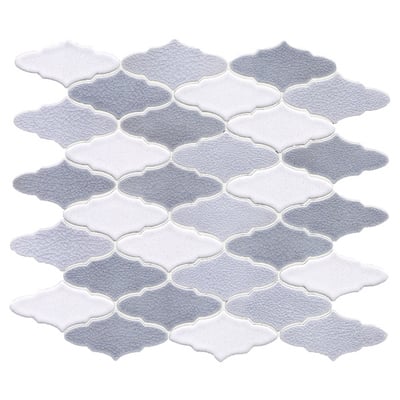
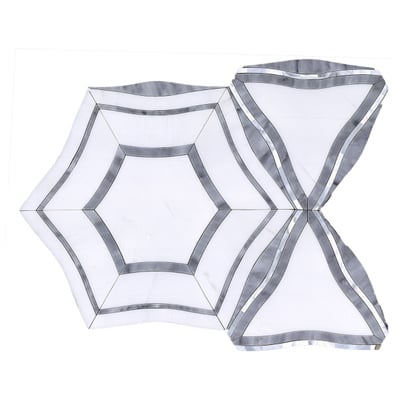
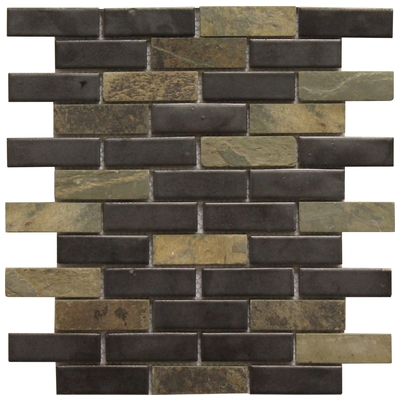
Shop All Mosaic Tile: